Mini-Brig Project: Hull Construction - Step 7
Staining and Painting the Inside
The reason we want to stain or paint the interior at this point is to seal and protect the wood so further attachments can be made such as rigging platforms, cannon shelves, mast-steps and seating. You could attach such parts to the boat and then paint everything, but if by finishing the boat after attaching everything we would have "unfinished" portions under these constructs, and they may become problematic when exposed to weather. It is my own perception that by sealing these areas before applying a "top-coat", it will serve to provide a greater resistance to mildew, rot, etc..
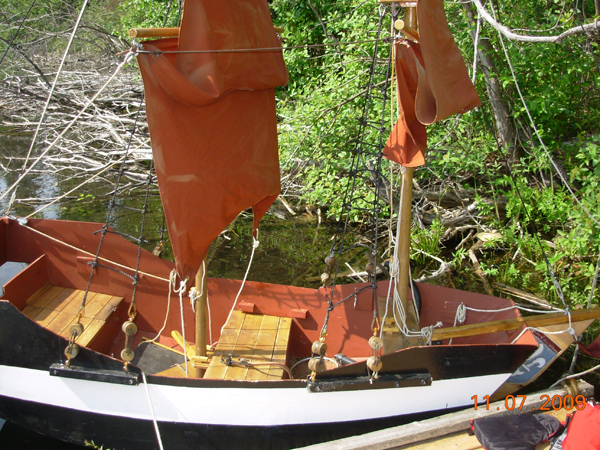
The next few steps and finishing could be done in any order or even omitted depending on how you plan to style your Brig. For the "Adventure" we decided on a red mahogany interior, with several coats of spar varnish to give in a really nice "wood" feel. For the Liberte, we painted her interior with a high-quality "ox-blood" latex paint.
Of course everything is subjective and you could "paint" the inside of the hull instead of using stain. In either case, the stain or paint also helps to cover the fibreglass tape and colours it just fine. However, even with stain, the remnents (edges)of the tape can be seen, as the stain while "colouring" the tape doesn't follow the grain and their is a slight difference from where the stain soaks into the wood and the tape. If you use paint, or an opaque finish this is not be noticeable.
In the Adventure, we wanted an older "traditional" look so trim pieces were made to cover the taped seams.
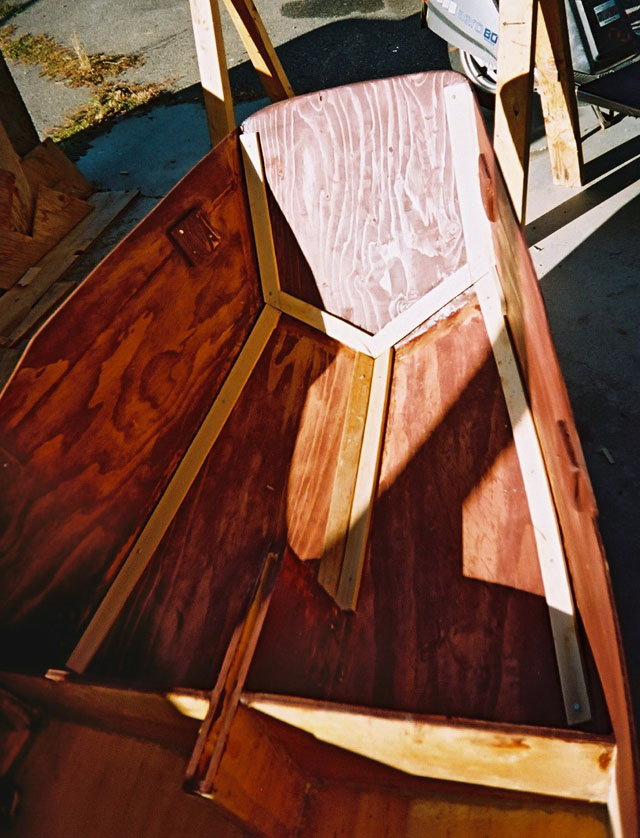
The hull is stained first with a mahogany red gel, then
spruce lathe strips are laid to cover the taping seams.
The Trim Pieces
The trim pieces are simply 1/2" x 1" spruce lathing. We applied the trim pieces by using small brass screws (being careful not to go through the hull) and exterior wood glue. Later we will stain them a dark cherry colour. This is time consuming, and can sometimes be difficult to get all the angles right. We did not stain the inside of the mid-frame seat because we applied several coats of polyester resin, and then it will be filled with "expanding" foam to provide positive floatation.
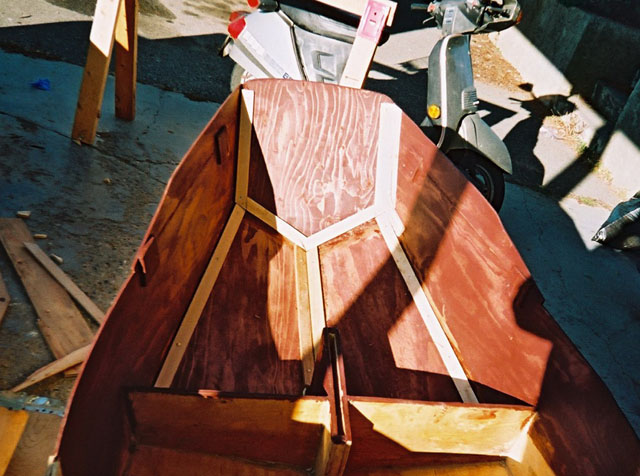
Another view of the trim pieces. This can be very tricky!
In this instance we want to cover each area of the fibreglass tape so we have a wooden strip on each edge of the tape. This step is merely for cosmetic purposes and you may want to try something different. You could use a routed fancy strip if you want or forgo it all together. Later these strips will be stained a much darker colour, such as a cherry to create some contrast but not shockingly so. The next step will be to place a mounting trim around the daggerboard trunk to mount the "seat" on and also to mount a "crossbrace" which will also help to support the mast and provide a solid surface for the rigging platforms to bolt into.
The Liberte, below, does not have any stain or trim pieces --and is simply painted ox-blood. There are numerous colours and ways of finishing your interior - You are only limited by your imagination.
The inside of the Liberte Mini-Brig

Liberte under construction - note 'oxblood' interior and
seats not installed.